
Hi. My name is Jenny, and I like to make stuff. Yep, I'm a compulsive DIYer. Which means that when Ruby's birthday rolled around, I wanted to make her something. Actually, I wanted to make her multiple somethings (a play fort, a dolly, a quilt), but since I don't have oodles of spare crafting time, I had to whittle my list down to just one thing. And that, my friends, was this play tent.
Well, ok, if we're being honest, I wanted to buy her a play teepee. Like this:
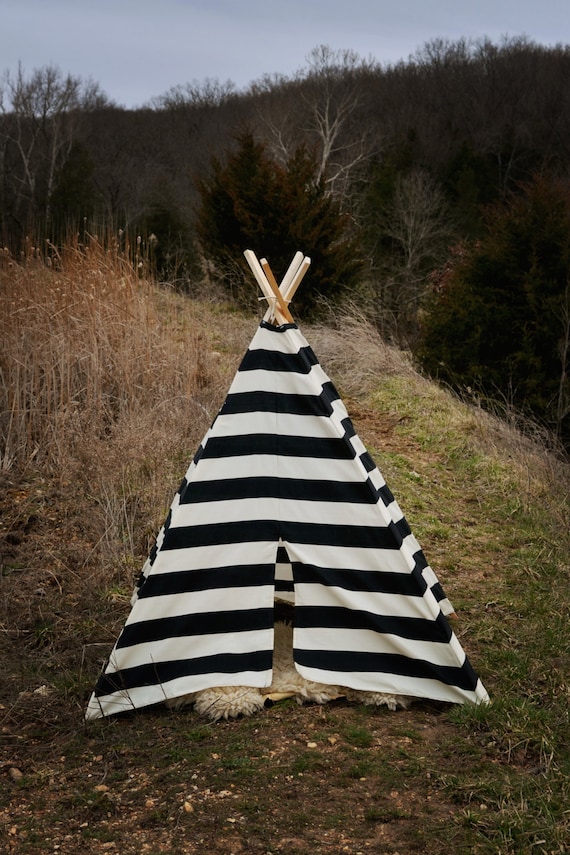 |
| via |
Or, this:
 |
| via |
But those weren't exactly in my budget, plus there was the compulsive DIYer side of me mentioned above. So DIY it was!
And then, what should happen? In my blog reader came along a post from Jessie at Cape 27. She made a play tent for her daughter's first birthday. It was a sign! I liked the idea of a tent because the construction was much easier, and called for much less fabric. I like that Jessie and I both had the idea of making some sort of play fort for our girls' birthdays.
It is the perfect place for reading a book.

Or, you know, just hanging out.

Jessie's post led me to the tutorial found here on the Cakies blog (what a great name). I had the guy at Home Depot cut the molding to size for me right there in the store (Did you know they will do that for you? They totally will, especially if you bring your baby in a tutu and silver mary janes... Not that I did that.). And I had my dad drill the holes on his drill press. Because he has a drill press, and I do not even own a handheld power drill. So, thanks, Dad!

The cover was sewn out of some awesome Ikea fabric that I found. Because it was directional, I had to cut my piece first, then flip it around and sew it back together, so that the print would be right side up on both sides. This means that there is a seam running down the top of the pole (which is no big deal at all). Then I just hemmed all the edges and attached the elastic as per the directions.
Seriously, check out these moose! Ruby loves them. I knew she would. She can see them through the fabric when she's in there and points at them.

I did have to make one slight alteration to my tent. When the fabric was draped over the center pole, and the corner elastics secured, it was still a little too... drapey. I was prepared for this, as Jessie talked about having that problem when she made hers too. Her solution was velcro. While a great idea, I wasn't sure I wanted to go that route. I wanted the cover to be fully washable, and I wasn't sure that self-adhesive velcro would hold up in the wash.
So, instead, I came up with the (brilliant) idea to add some ties.

I cut 8 (4 for the front and 4 for the back) 18" pieces of ribbon that I already had on hand from birthday party projects. Measuring 1/3 of the way from the middle seam and bottoms (which was 14" on my tent), I simply stitched the middle of the ribbon where the existing hem stitching already was, making sure to sew back and forth several times for strength.

After tying them on, the tent was not droopy at all! Yay! And the ribbon is totally machine washable, so if anything ever gets on the cover that shouldn't be, I can just wash it right up!
I also took one last page out of Jessie's book (seriously, I am SO glad she made that post!) and purchased one of Ikea's famous faux sheepskins to throw in there. It makes it super cozy, and yes, I do like to go sit in there sometimes, too.
 |
| "Whaaaat? Mama, you don't belong in my play tent!" |
Now go make one for yourself your little one! I anticipate we'll get a ton of use out of ours. We already use it pretty much every day. Just make sure that if you set out to photograph your little one in there, that you do NOT accidentally let her giant silver mylar #1 balloon float up to the top of your 2 story ceiling...


Not that that happened to us...


oh my goodness this is SO cute!! I wish I had the time or motivation to make one! I just bought C a play teepee for his birthday, but I had been saving for months and you're right, it hurts to pay that much! :) Yours turned out so cute!
ReplyDeleteThis comment has been removed by the author.
ReplyDeleteSo cute, I'm planning to do ribbons too! Do you find that your tent slips around because the beams are not cut at an angle (not flush to the floor)? Does that make sense?
ReplyDeleteIts best comfort teepee tent for kids and its encourage you to create them with your kids.
ReplyDelete